HSRP (Hot Standby Router Protocol) is a Cisco proprietary protocol that provides network redundancy in case of default gateway router failure. It is one of the most common protocols, however, it contains vulnerability that can lead to denial of service or to data capturing by attackers. We will show you how the HSRP attack can take place and how to protect your network against it.

HSRP Configuration
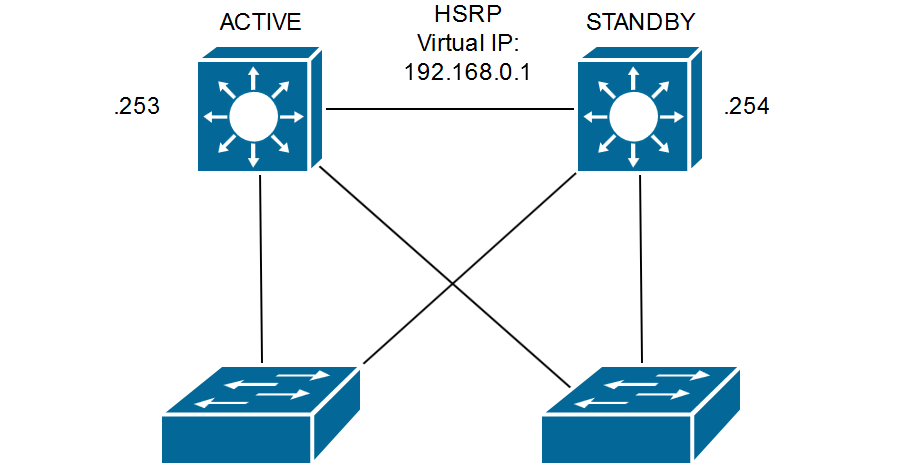
In our simulation we will use two Cisco routers. We will provide redundancy of the default gateway for Vlan 10. Router R1-NETVEL will be the primary router and R2-Netvel will serve as a backup. You can see the configuration below.
R1-NETVEL#sh run int vlan 10
 Building configuration...

Current configuration : 134 bytes
 !
 interface Vlan10
 ip address 192.168.0.254 255.255.255.0
 standby 10 ip 192.168.0.1
 standby 10 timers 2 6
 standby 10 preempt
 end
R2-NETVEL#sh run int vlan 10
 Building configuration...

Current configuration : 138 bytes
 !
 interface Vlan10
 ip address 192.168.0.253 255.255.255.0
 standby 10 ip 192.168.0.1
 standby 10 timers 2 6
 standby 10 preempt
 standby 10 priority 95
 end
As we can see in the output of the „show standby brief“ command below, the R1-NETVEL router became active due to a higher priority, which is implicitly 100. R2-NETVEL router is in Standby mode since it has set lower priority value of 95. This is a state that we would like to have in our production environment.


HSRP attack
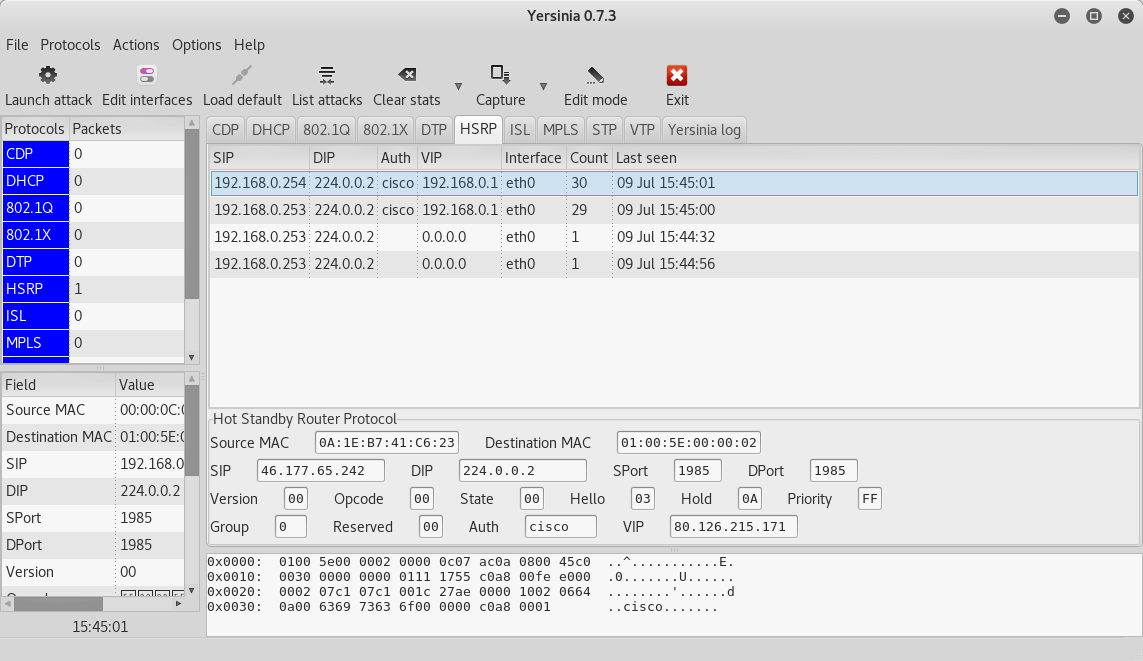
The goal of this attack is to take the role of HSRP active router by our attacking station, which will cause denial of service, or we may capture data on the network. We will use the Yersinia tool located on the KALI Linux distribution as well as in the other tutorials about Penetration Testing and Ethical Hacking. We may run Yersinia in the following way.
root@kali:~#yersinia -G
Click on the HSRP tab:
Start: Launch attack: Launch attack -> becoming ACTIVE router
Stop: List attacks: List attacks -> Cancel attack

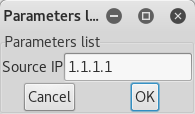
When we run the HSRP attack, enter the source IP address under which we want to perform. It does not have to be in the same subnet!

If we run debug of HSRP on the router, we’ll see how the R1-NETVEL router changes it’s status to the Speak state and then to the Standby state.
![]()
We will see the result of the attack after entering the „show standby brief“ command. We see that both routers declared our attacking station an active router.


This attack can be very dangerous, but we can easily and effectively protect our network against it. Just configure the authentication between the devices. For details about the configuration, click here.


